Industry insiders use the ideas explored here, and they’re often carefully guarded secrets. Just follow the instructions outlined for each of the backdrop design tutorials explored.
Pipe and Drape is KEY
For a simple but professional backdrop, the underlying structure is key. Here, “know how” rather than creativity is required. For the bones of the backdrop, decorators customarily use pipe and drape; and brides can too, to create stunning backdrops for a fraction of the cost! For a one-panel backdrop the pipe and drape set-up would contain two base plates, one crossbar (or drape support rod), and two uprights. Don’t worry, we’ll explain more about this later.
Basically, once your pipe and drape structure is up, you can mount your backdrop fabrics and decorative accessories unto it for stunning ceiling light hong kong effect. It’s as easy as running curtains through a curtain rod! See tips below for getting the equipment you need – and this is literally the hardest part, and not so hard with our pointers ϑ
1. Purchase a slip fit pipe and drape set
Our team members purchase kits and parts online from sites like cvlinens.com. Or, rent a “pipe and drape” set from a reputable event rental company and design a backdrop you can install yourself on your wedding day using the instructions here.
2. Pipe and drape sets come in different widths and heights
The crossbars and uprights are usually adjustable facilitating a variety of width and height options for your designs. Choose a size that should fit your stage production design.
3. Consider the heaviness of the base plates
If the materials you’re using for your backdrop designs are light, a set that comes with a 16-pound base plate can work. If your materials are heavy or plentiful, and you plan to add a chandelier and other accessories to your backdrop, you would need a set with a heavier base plate.
4. Suggest to get a canopy “pipe and drape” set
With any set, we recommend purchasing/renting an extra crossbar and two “double crossbar hangers”.
Mount your pipe and drape set
Once you have your set the pieces will come together naturally.
1. Place your base plates on the floor, with the relevant space between them.
2. Rest your uprights upon the pins of your base plates, both left and right.
3. Attach your crossbar, hooking it into the tops of uprights accordingly.
Creating Backdrops – Techniques
When creating your backdrop, please use the colours, fabrics and flowers of your choice, and apply the techniques you like or mix methods to achieve your desired spotlights effect.
Basic fabric panel backdrop
You can use this technique for a stage backdrop, a wall covering, to create a barrier between areas or to hide an unsightly area.
Variation – Mixed Fabrics
Using a rosette or textured fabric towards the middle adds interest. You can use a combination of colours on your fabric backdrop. Here’s another example of a mixed fabric backdrop, with added colour and texture to create a different feel, using the technique in Look 1. Here, a focal fabric, approximately 5’ across, is used straight across the crossbar, with additional fabric panels surrounding it, picking up with the focal fabric again towards the ends.
Simple fabric panel backdrop – Ballroom Curtains
You can use the “ballroom curtain” technique described above to create this look. Whereas in the last look we created 3 ballroom curtains, for this look insert a focal panel to the mid-dle of 4 curtains, bringing in a bit of the focal material on the two ends as well. All fabric panels are draped in the same manner described in point 3 above, and these fabric panels can also be layered to create the two-toned look. The curtains are also made in the same manner. After tying your ballroom curtains, you can append a decorative paper flower to the front with head pins/s.
Variation — Over the crossbar and “tone on tone
You can achieve this look by incorporating the techniques described and the “tone on tone” technique mentioned above.
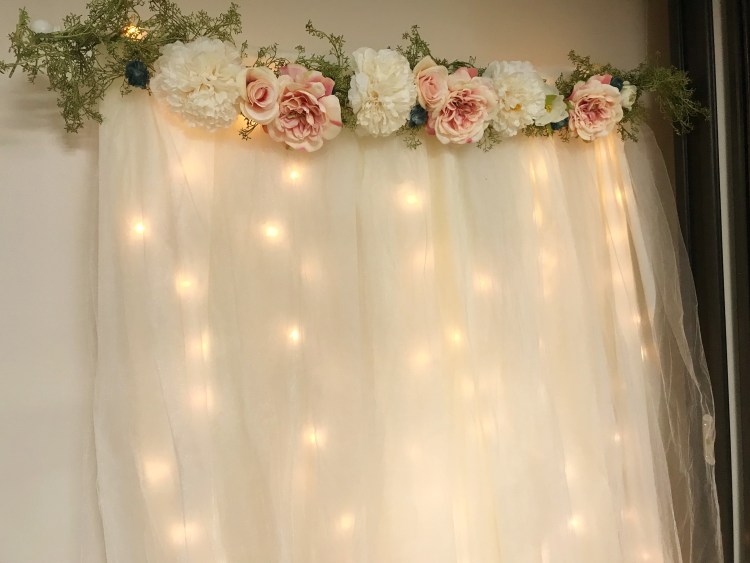
Variation – Floral ties
After tying your ballroom curtains, you can accent with fresh or decorative flowers.
Simple four-post canopy
You can also use the techniques described above. Consider appending a flora bouquet to tops of front uprights using zip ties and/or pipe cleaners.